Black Point Parameters
Selecting an Image Area as the Black Point
Correct Black Point selection sets the tonal range for a digital image's color correction, taking into account the printer/ink/media combination being used. Proper Black Point selection accomplishes several things. It sets the point at which the last separation of black ink appears on the paper before maximum black, and it restores detail in the darkest shadow areas. If the selected area is too light or too dark, the image's tonal range will be adversely affected. For information on applying Black Point settings to your color correction, see the Color Correction section.
Unlike the White Point Setting, the Black Point will typically not be neutral. This is because shadows are typically lit by reflected light from the sky rather than direct sunlight. As a result, the “sky blue” color will introduce a Cyan-Blue color cast in the shadow areas. This is natural and not a problem. The problem arises if you neutralize the color of the shadows. By shifting the shadows to neutral from Blue-Cyan, you will shift the other tones in the image to Yellow-Red. To prevent this erroneous shift in color, I set the Black Point in a Curves Adjustment Layer set to Luminosity Mode. See Reflected Color and FAQs for more information on avoiding neutral shadows.
To determine which RGB values to set the Black Point to, use the Precision Black Point Print Targets to determine where the last separation before maximum black occurs. If you haven’t checked the Precision Black Point Target for this separation, you can use R250/G250/B250 as a default setting. See Black Point in the Color Correction section of the website.
I use two types of Black Points: Believable Black Point and Über Black Point.
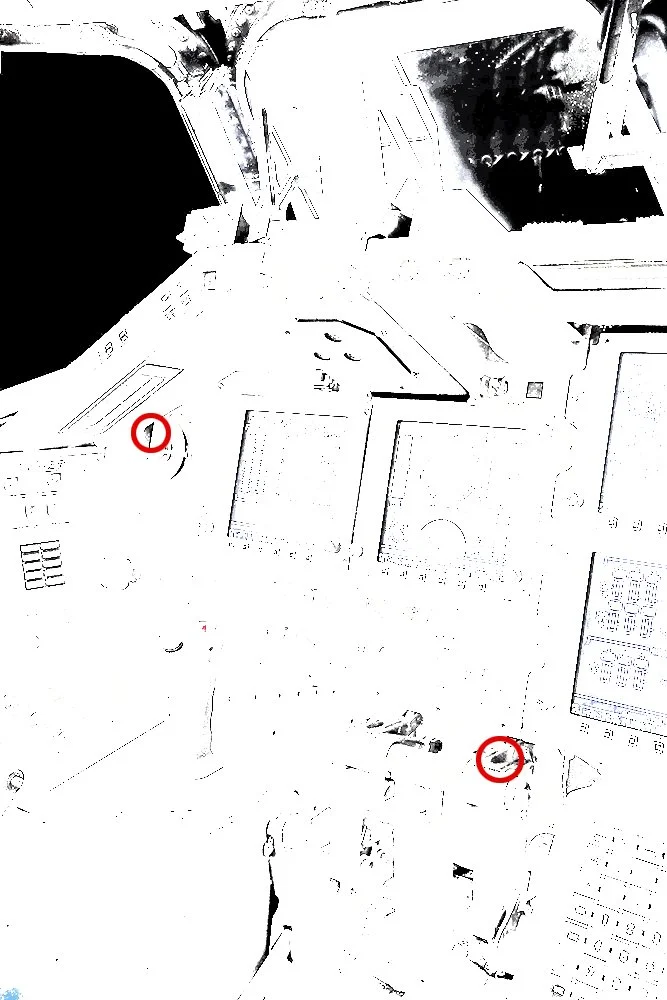
Area circled to set a Believable Black Point.
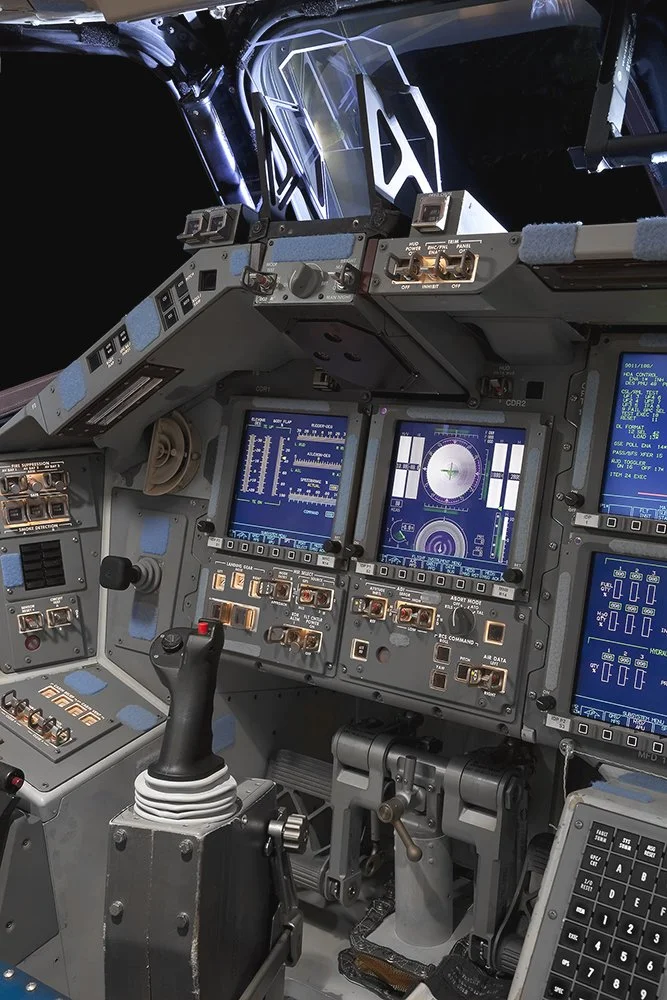
Believable Black Point set in the image.
Believable Black Point is the standard method for setting the Black Point. After you have determined your paper/ink/media combination’s Black Point (say it’s R247/G247/B247), you will set this in the Curves Adjustment Layer. You then use the Curves Adjustment Layer’s Black Point Eyedropper to select the area where the first separation between maximum black occurs.
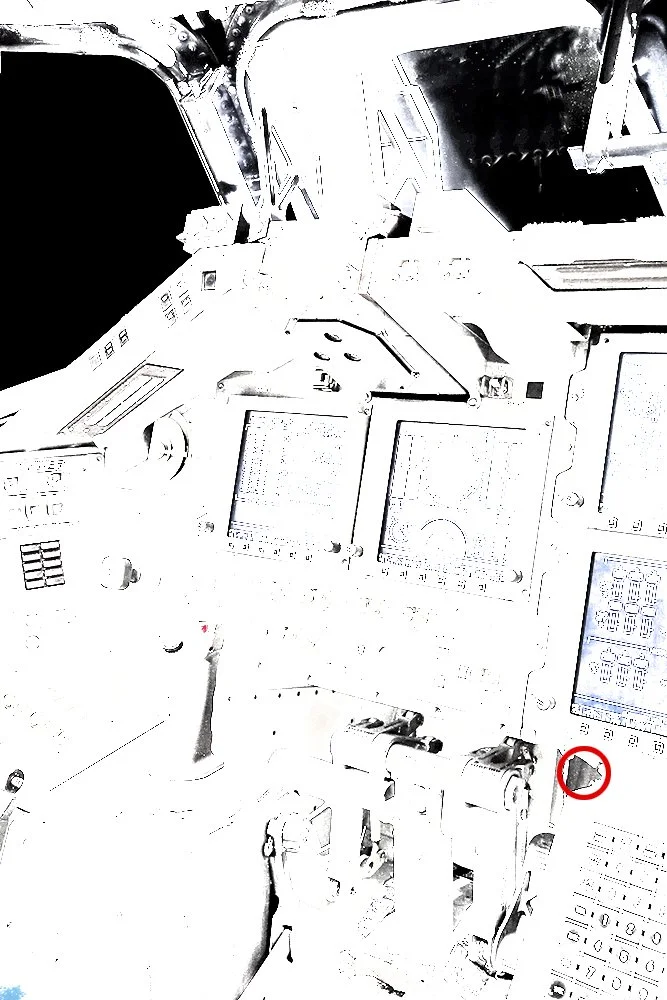
Area circled to set an Über Black Point.
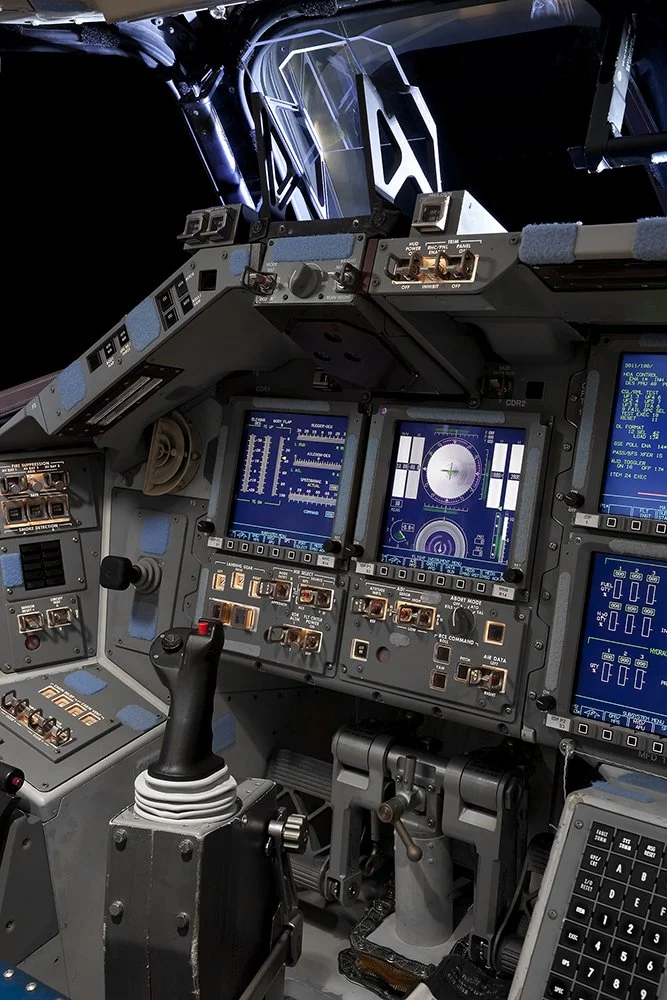
Über Black Point set in the image.
The Über Black Point Setting is used to ensure maximum black in the image. Be aware that using an Über Black Point will block up part of your shadow areas. To set an Über Black Point, select an area that is lighter than the point where the first differentiation into maximum black occurs. This will force more of the shadow areas above the Believable Black Point into maximum black, giving you a heavier shadow area.
I rarely use the Über Black Point because it causes some loss of shadow detail, but it raises the point that you can use the Tone System to distort an image’s tonal range in a controlled manner. You may not always want a “full scale, full substance” print. Using the Tone System to distort the tonal range can help create “high-key” and ‘low-key” images. High-key images are made up mostly of whites and lighter values. Low-key images are the opposite, made up mostly of blacks and darker values. One of the strengths of the Tone System is that, if you learn to control your image’s tonal range, you will have much more creative control.